

Technique and post-production
Online tutorials
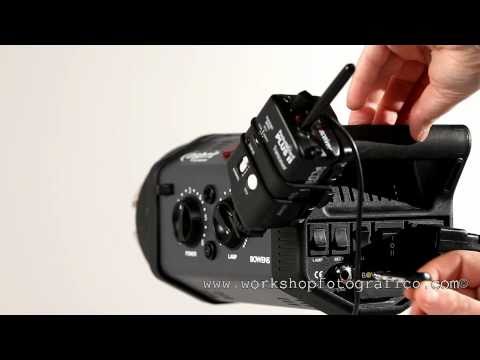
How a Monolight Flash Works
Let's take a detailed look at how a monolight flash is built. Plenty of useful insights to get the most out of these precious allies of every photographer who wants to get serious.
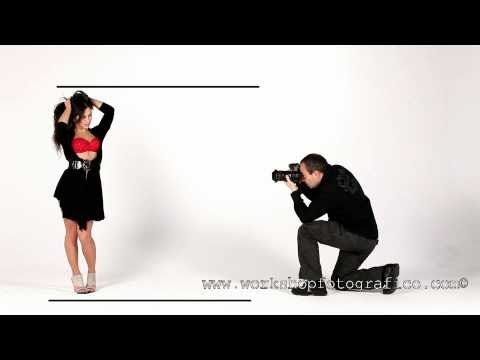
Flattening Your Subject
How to avoid one of the most common mistakes among beginners (though even experts make it sometimes): flattening the perspective of the person you're photographing... I'll teach you NOT to do it.
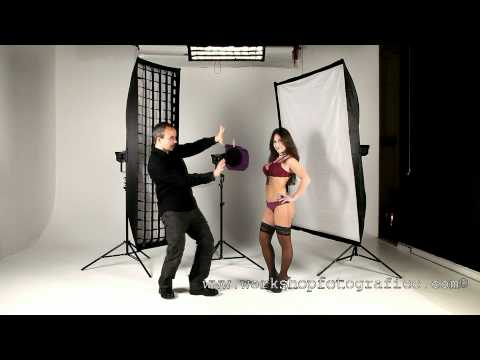
Photography Revealed: Glamour with Eva
I reveal how a glamour photo is shot in the studio. Lighting setups, the power settings used, and a pinch of fun.
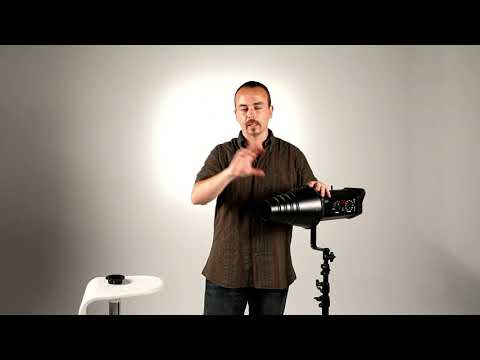
Snoot (15°)
The snoot is a very useful accessory for directing a specific "beam" of light onto a particular part of our set. Useful for putting "accents" on objects, items of clothing, etc...
Beauty Dish
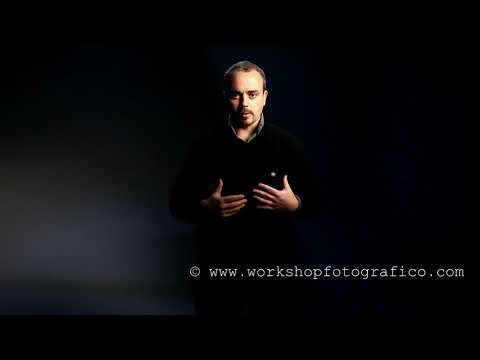
The Beauty Dish is an accessory that can make the difference in your photos and give them a truly professional look.
Maxilite Reflector (65°)
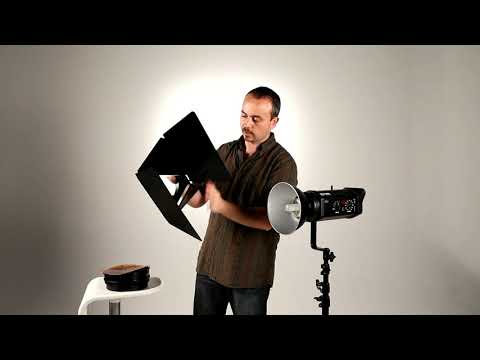
The Maxilite Reflector is an accessory I use quite often. It's useful both for lighting the background and for lighting the subject from behind, as an effect light.
Backlite Reflector
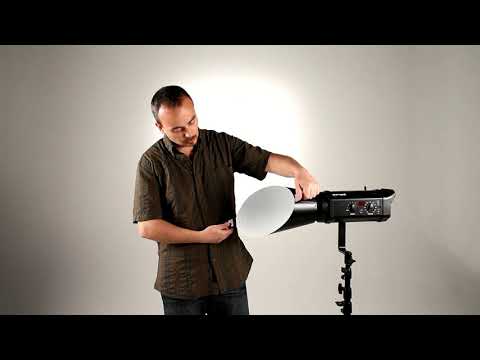
The Bowens Backlite Reflector is an unquestionably useful accessory for lighting the background evenly.
Fresnel 200 Spot Attachment
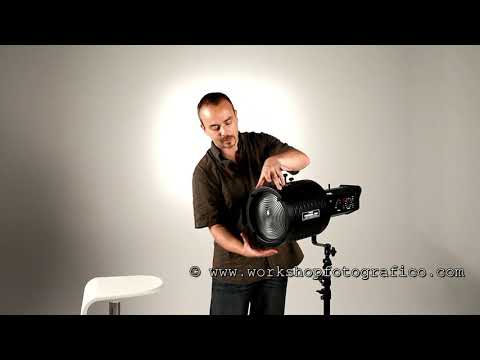
Bowens Fresnel 200 spot attachment. An accessory that costs as much as the monolight flash it gets attached to. Useful if you just want to put a "spot" of light on a precise point...
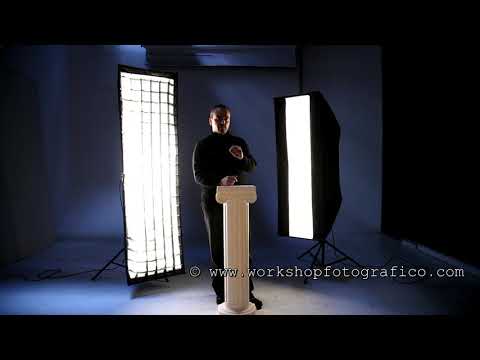
StripLight
The striplight is a very useful accessory in still life and fashion photography. It produces excellent light for lighting people from head to toe, or objects, even those with a…
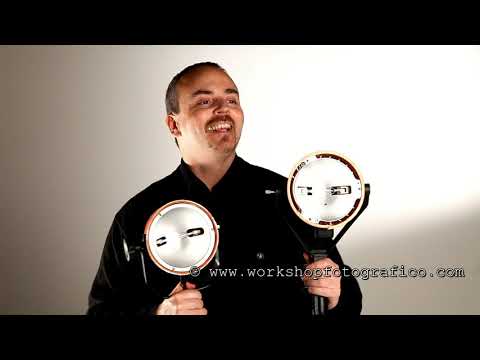
The Quartz Lamp
The quartz lamp is one of the most widespread continuous lighting systems. They are generally sold with practical barn doors, which let you aim the light beam with…
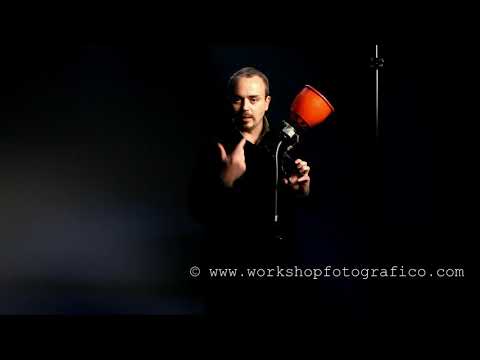
The PhotoFlood Lamp
In this video you see the 500W IANIRO Photoflood lamp with a clamp mount. A "normal" continuous light lamp that's hard to use with any accessories other than the barn doors.
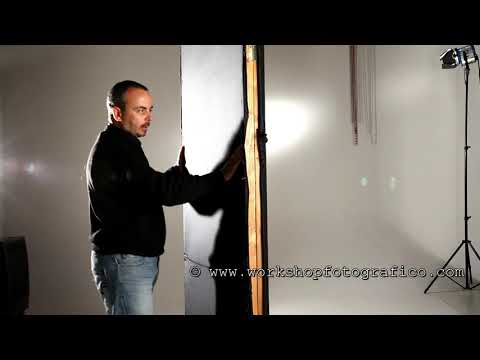
Flags
A "flag" is something you place between the light and the subject, or between the light and the lens. In this case we are talking about flags used between the light and the…
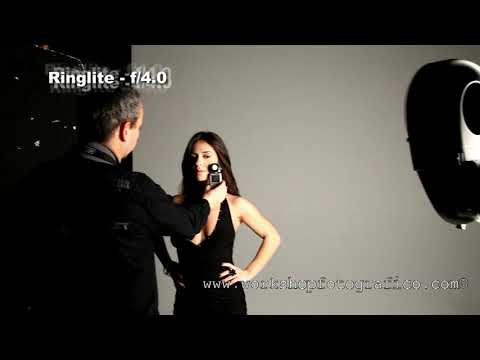
Comparative Test of Flash Light Modifiers
This video course is essential for understanding the differences between the various studio flash modifiers: how much light they put out and how much gets "absorbed", what the effect is on a…
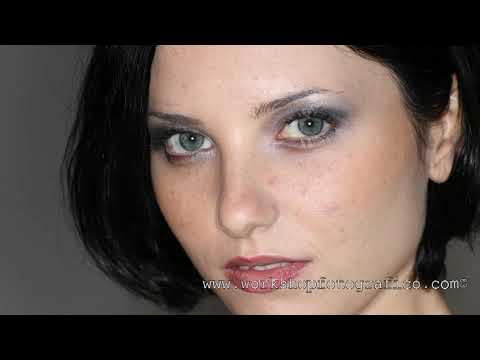
Ray Flash and RingLite Converter
So here we are with a comparative test between an accessory for speedlights, the Ray Flash, and an accessory for studio flashes (with a Type-S mount), the Bowens Ringlite Converter.
The Softbox
The softbox is probably the most common accessory in studio photography. It produces beautiful, gradual shadows that make the photographed subject look "soft".
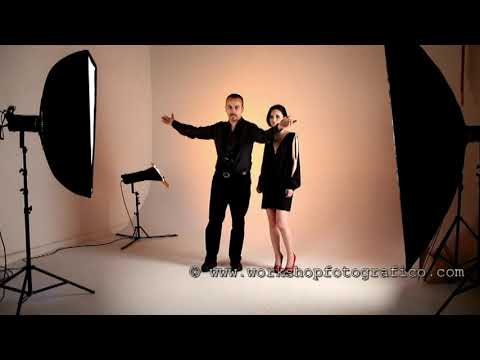
Home Studio - 3 Light Sources
This video course explains how to set up a room to build your own little home studio. The short side of the room should measure no less than 3 and a half meters.
The SoftBox as a Single Light Source
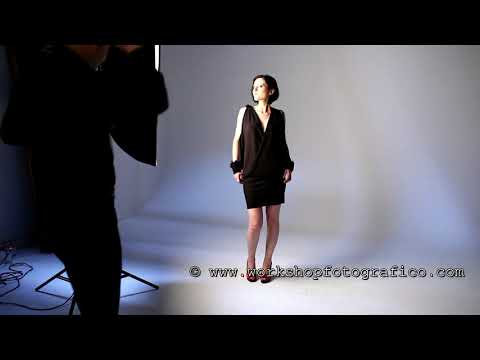
Have you bought your softbox, at least 80x100cm? Good job, you've made an excellent purchase. It doesn't matter whether you're using continuous light or flash, the principle (as…
120° Wide Angle Reflector
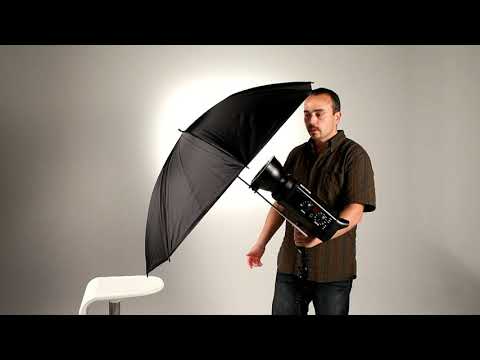
The 120° Wide Angle Reflector is a reflector dish I use very rarely, since I rarely use umbrellas and even more rarely use it on its own.
Grid Reflector
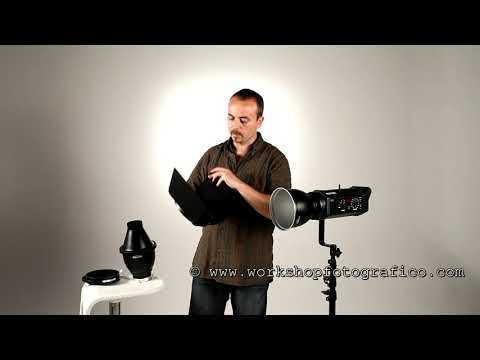
The Grid Reflector is undoubtedly a useful accessory. It can be used as a hair light, or in product photography.
Softlite Reflector (75°)
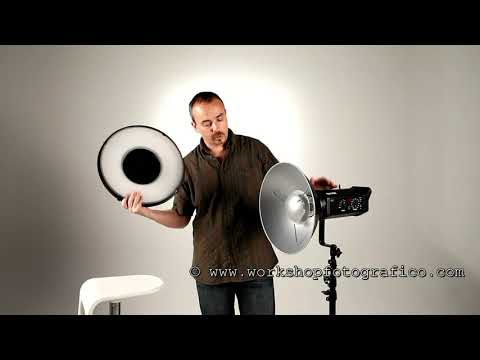
The Bowens Softlite Reflector is essentially a beauty dish, 38 cm in diameter. Its diffuser is called the "Grid Diffuser".
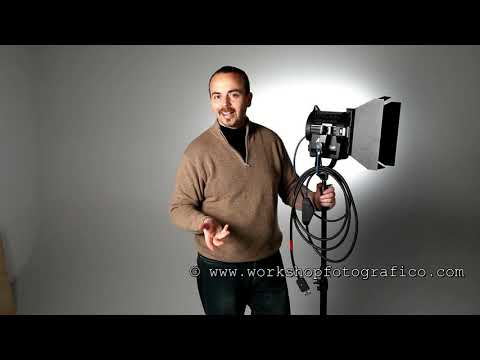
FRESNEL Lens Lamp
A lamp with a fresnel lens produces a very concentrated, powerful light, thanks precisely to the light passing through its concentric-ring lens.
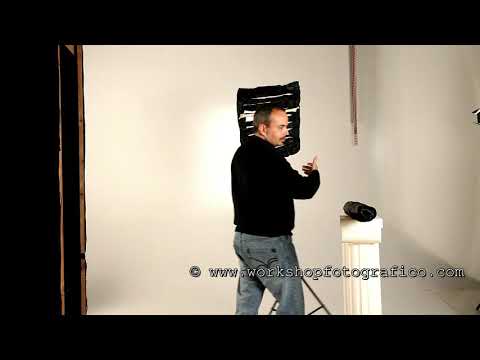
Flagging Light in the Studio
With Black Foil we can mask our light sources to create original, distinctive effects, both on the subject and on the background.
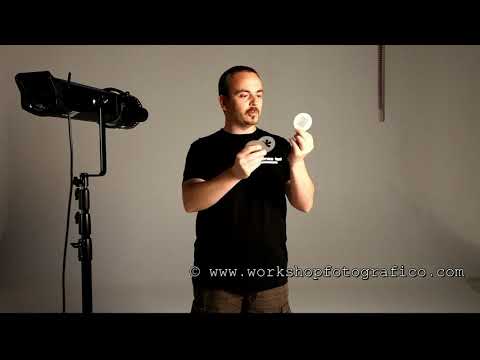
Bowens Universal Spot
The Bowens Universal Spot Attachment is an accessory that lets you project shapes onto a background. It's quite expensive and it also soaks up a huge amount of light; in fact I have to use it with a…
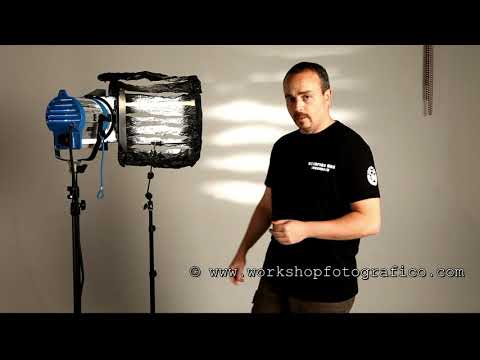
Black Foil
Black Foil, also known as Cinefoil, is a material similar to a fairly thick sheet of aluminum foil and is often used in the film industry to create light masks.
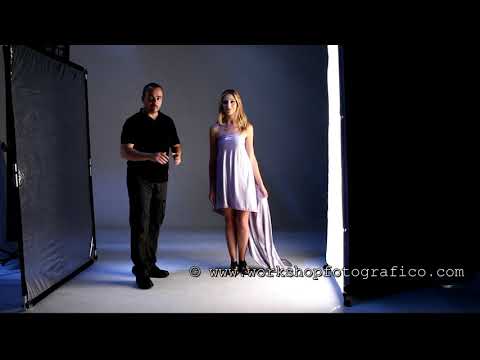
Dome XXL
The Dome XXL is a "window light" that produces very even, soft and diffused light. It measures 2 meters in height and 1 in width, and 2 flash units go inside it.
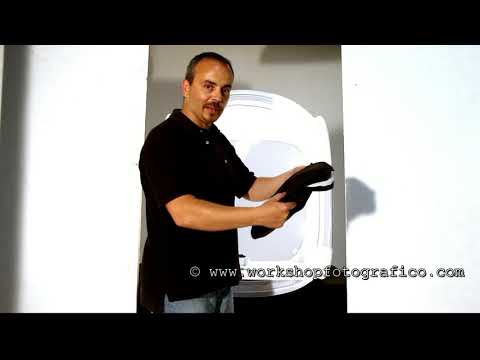
Still Life: The CubeLite
If you need to shoot simple still lifes, the CubeLite is an accessory that can come in very handy for taking photos free of unsightly shadows.
Bowens High Performance Reflector
The Bowens High Performance Reflector is a decidedly useful accessory when you need a lot of power. It is in fact the accessory that "produces" the most light of all.

The Three-Phase Method
The three-phase method: Introduction. How do you take a correctly exposed, focused and perfectly framed photo? Simple! I rely on my "3-Phase Method".
Basics: Exposure
The perfect exposure? IT DOESN'T EXIST! Or rather, yes, it does exist, but only in one case. If we fill the frame with an 18% neutral gray card, lit in a perfectly…
Basics: Focusing
There are multiple focusing methods on your camera, and they force you to make choices: Autofocus or manual? Single shot or Tracking?
Basics: Image Composition
Image composition is undoubtedly a fundamental aspect of photography. It's what people call: "Having the photographer's eye." Some people, even without any technical…
Most Common Mistakes: Exposure
Camera light meters are calibrated to measure the light that reflects off 18% neutral gray. In all other cases there is an error, which can be small or large, depending on the…
Most Common Mistakes: Focusing
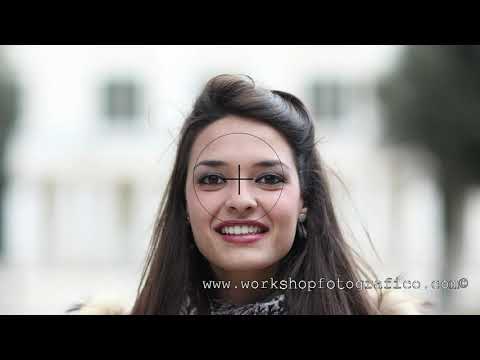
Common Mistakes: Too Much Headroom
The classic beginner's mistake. Since the focus point is classically in the central position, it gets used as if it were a rifle sight...so you aim at the center of the head and…
Taking Control of Your Camera
Dear beginner friends, now that you have unboxed your new camera and taken your test shots of the cat, the time has come to TAKE CONTROL OF YOUR CAMERA !
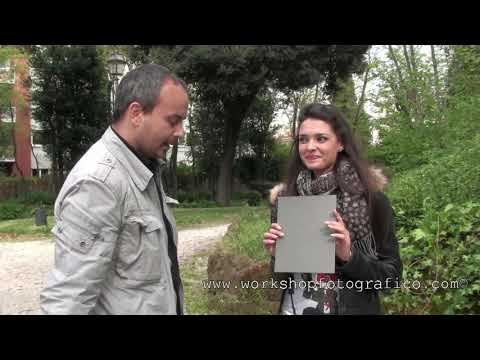
Outdoor Portraits
For a great outdoor portrait I recommend using a lens that gives you a shallow depth of field.
Postcards from Rome - Part 1
Outdoor photos, architecture and landscape shots...how do you tackle them ? The wide-angle lens definitely rules here....and the wider the lens, the more fun it gets.
Postcards from Rome - Part 2
This is the second part of the video course...obviously watch it after the first one ! ;-) For greater stability we use a tripod. Tripods fall into several categories: - Cheap knock-offs.
Wedding Photography
WARNING ! THIS VIDEO COURSE IS IN TEXT FORMAT ONLY. THERE IS NO ASSOCIATED VIDEO. Talking about wedding photography in general is certainly not easy, mostly because every photographer has…
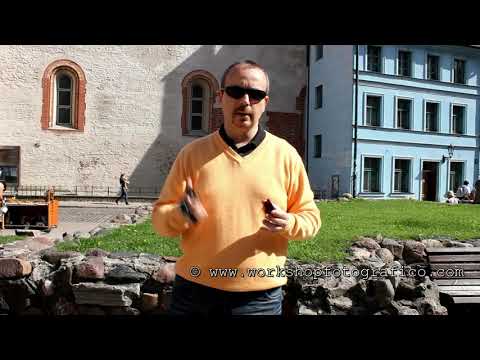
Photography on Vacation
Going on vacation with a camera is by now standard practice for virtually everyone. Photographers who own a DSLR will probably want to bring their own gear along, but…
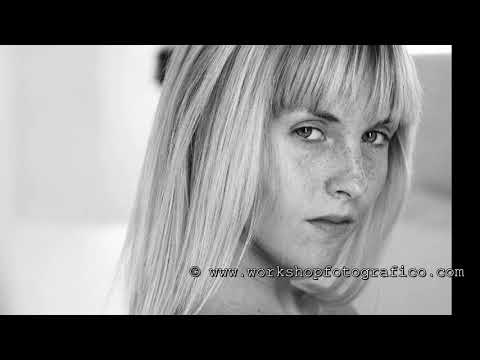
Indoor Glamour with Natural Light
Photographing a model on location with the help of the ambient light is certainly a fascinating experience for "putting to the test" our skills as photographers.
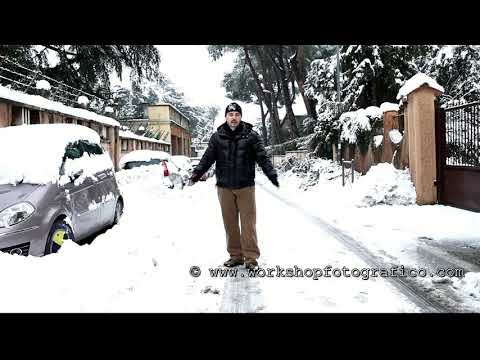
Under the Snow
Snow offers some excellent photographic opportunities... the thing is, we have to push our equipment to the limit of its capabilities to produce shots that are not too…
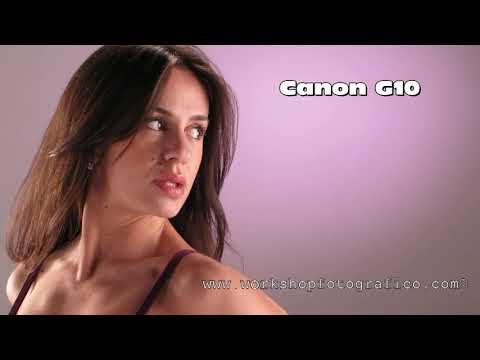
Canon G10 vs. 1Ds Mark III
At the end of the video course "The Photo Revealed: Glamour with Eva in purple lingerie" I had fun taking a few photos with my Canon G10 compact camera, to find out how big the…
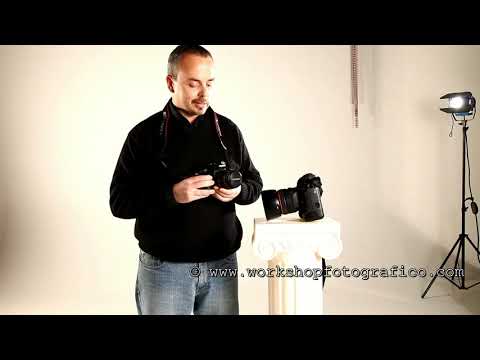
Canon Eos 550D
The Canon Eos 550D is undoubtedly a remarkably successful entry-level camera in terms of image quality, so much so that its update (the 600D), announced in these…
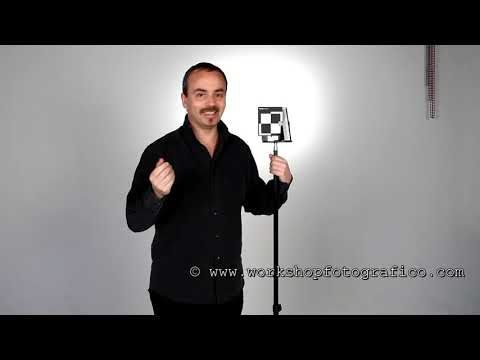
Lens Calibration
Lens calibration is a useful procedure for anyone who wants to get the most out of their gear. Until a few years ago the only option was to send everything in for…
Shooting with the iPhone 4
At first I was very skeptical about using the iPhone, especially from a photography and video standpoint. I have to say, though, that owning one has won me over.
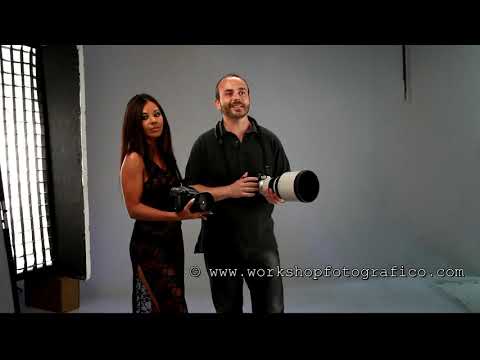
Canon 5D Mark III .vs. Hasselblad 3D II
Let's compare the queen of cameras, a Hasselblad (3D II with a 50mpx back), and a 22.3 Mpx Canon 5D Mark III.
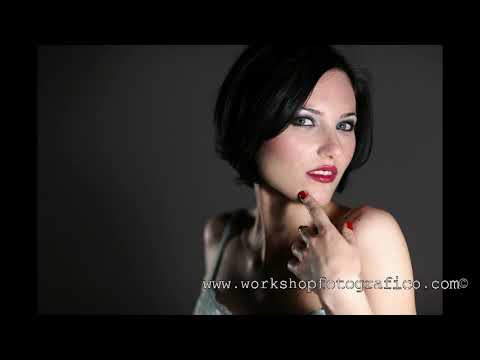
Luciana and 2 Table Lamps
In this video course we will look at how to take beautiful photos of a model with 2 very simple table lamps, which I bought at a well-known department store.
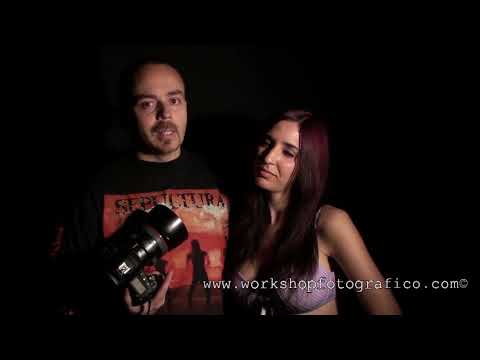
Glamour with Ketty - 1 Light
In this video course we will look at a classic situation that every beginner photographer tries their hand at: a slightly risqué photo of their friend/girlfriend/wife, taken however with the few…
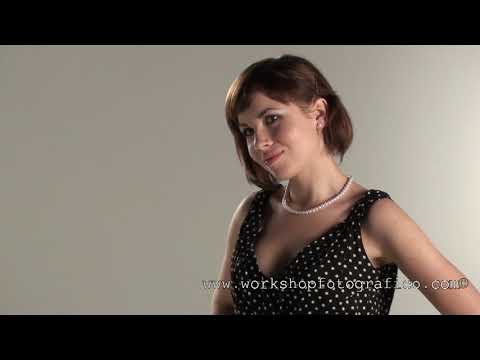
Studio Portrait with Vika
A simple setup: two 1000W quartz lamps with softboxes, one light on the background. Always remember this concept: place at least one light from behind.
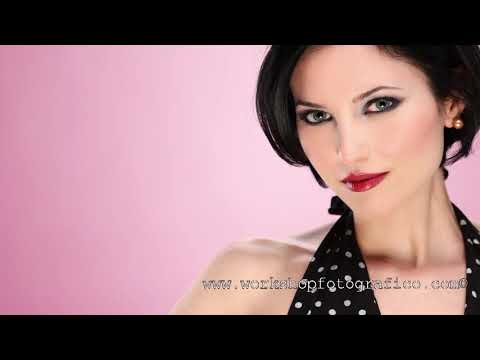
Luciana and the "Clamshell" Setup
One of the most popular setups for a "beauty" portrait is without a doubt clamshell lighting, which I've renamed Roman-style the "Mussel Setup".
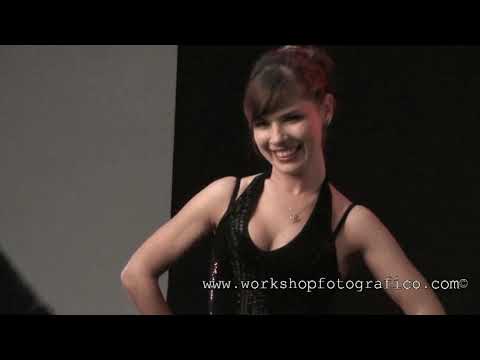
Renata Fashion
This time we have to photograph a model dressed in black on a black background. An intriguing "challenge", because if we get the light placement wrong, we'll end up with the unpleasant result of the…
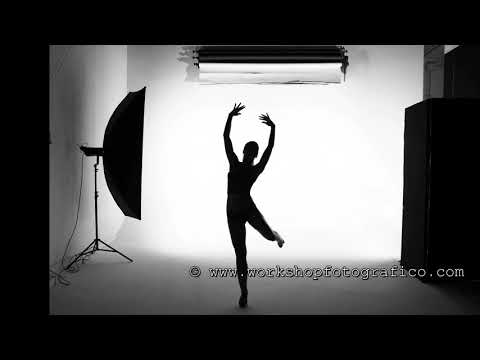
Backlit Dance
To create backlit silhouettes you need to build a strong contrast between the background, generously lit, and the subject, in shadow.
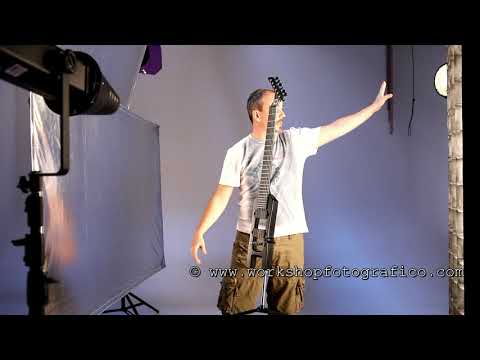
Still-life: Guitar with 5 Light Sources
To light this beautiful guitar properly we use rim lights and backlights. In practice, the only main light source is the 180cm stripbox positioned on the…
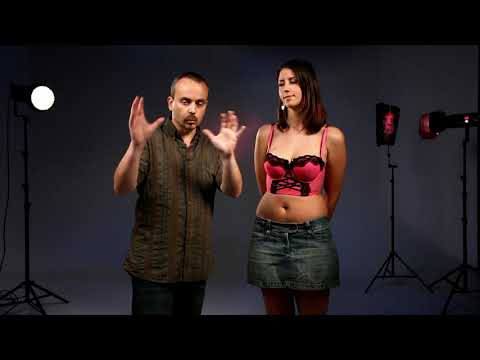
Carola - Pink Lingerie
A glamour lingerie photo with 3 light sources. - Beauty Dish on the model, in a frontal position at 45° - Maxilite from behind, at 180° from the beauty dish - Maxilite with a colored gel for the…
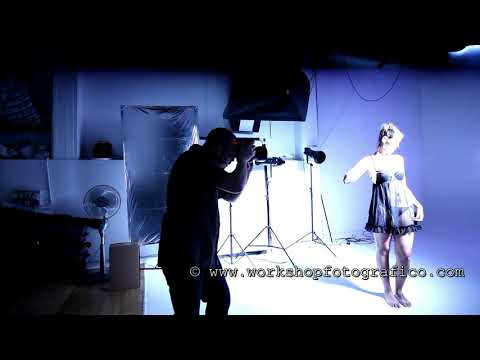
Carola Glamour
We make a few small changes to the "Carola - Pink Lingerie" set to take this glamour photo. So we move the main light back, behind the model's position, and…
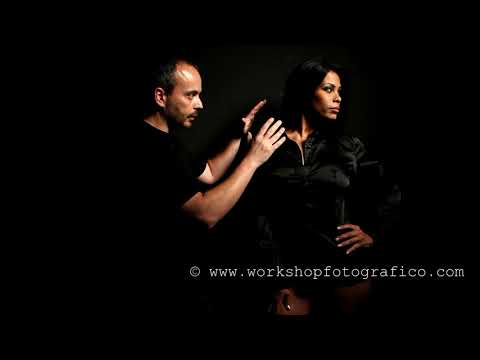
SeXy Geraldine
This time we shoot with the flashes at minimum power so we can use an aperture of f/2.8, in order to get a shallow DOF.
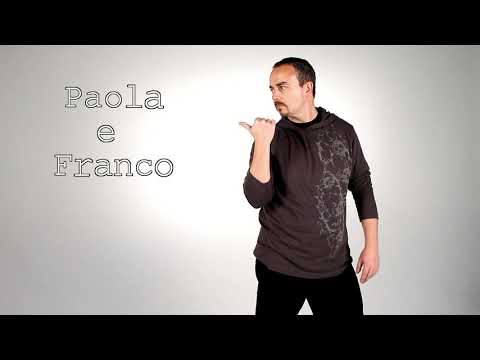
Paola and "Franco"
A simple lighting setup for a photo that's striking nonetheless. Softbox on the right with a flag beside the model to keep the light from reaching the background.
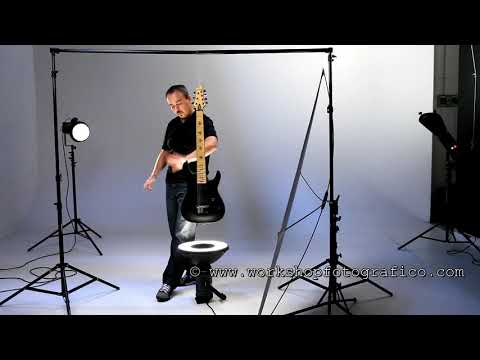
Still-life: Black Guitar
How do we make this black guitar really stand out ? We light it from below too, using the Softlite Reflector ! ;-) This gives us 5 light sources+1 panel: - Softbox 100cm . Main light.
Paola and "Maxim"
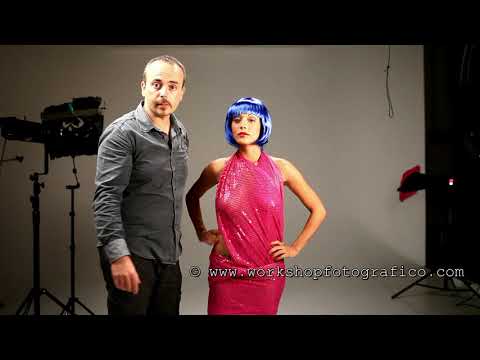
4 light sources for this beauty shot: - softlite reflector as the key light, fairly close to the model - striplight for the hair, from behind - on the background: - backlight with a lilac gel…
Still Life: "Mirror" Amp
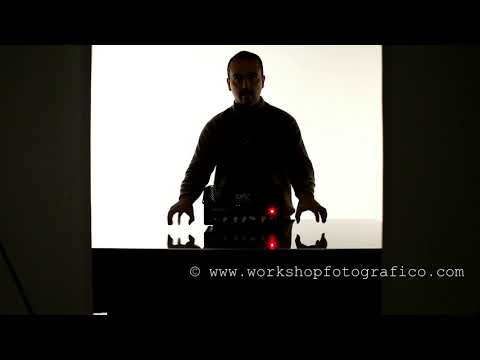
Here's the secret behind a photo that's guaranteed to impress. We have a guitar amplifier head resting on a surface made of clear plexiglass with a black velvet cloth underneath (all of…
Still Life: Snare Drum
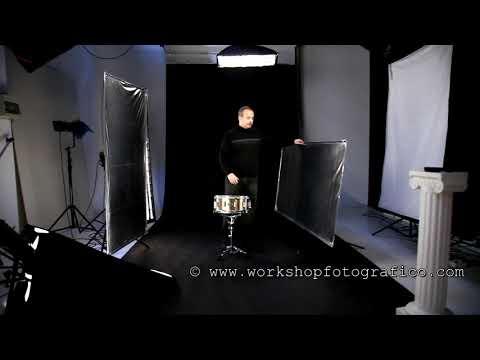
A snare drum from a drum kit. A somewhat tricky object to photograph, since it usually has circular reflective surfaces that mirror the whole studio.
LookBook with Tess
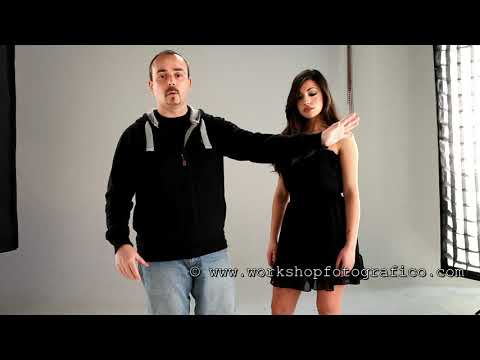
The classic catalog shot on a white background. Sure, you could tackle this with fewer light sources and still get good results. But since I have them...
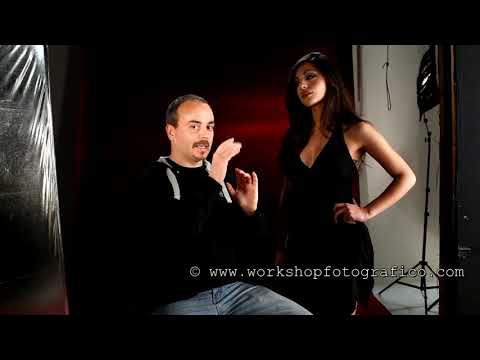
Tess on Red
A photographer's "skill" is also measured by how well they manage to bring out the best in their models. While photographing Tess I noticed that with frontal light the camera absolutely loves her…
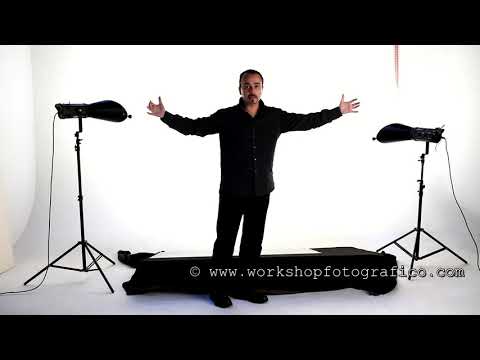
Still Life: An "Impossible" Guitar
Photographing a mirror is certainly tricky. Especially when our mirror is a guitar! Obviously, if we photographed it the "normal" way we would be reflected in the mirror.
Martina "Teleported"
Let's teleport Martina to Mars! To create this striking effect we need to use studio flash light, which with its 1/1000 of a second flash duration manages to freeze…
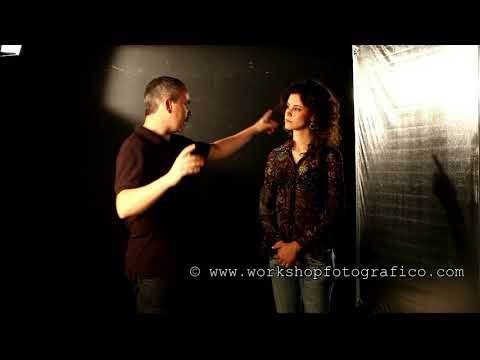
A Beauty Queen for MaXu
Sometimes you may be asked to shoot a "Cinema" portfolio. In these cases I would recommend using continuous light, the same kind used in the movie industry.
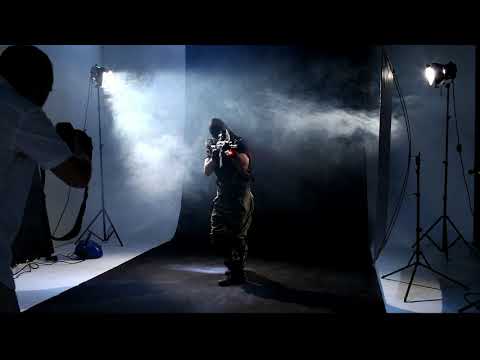
Grenade
To make the smoke (produced with a smoke machine) stand out, the best solution is to light it from behind, with hard light, on a black background.
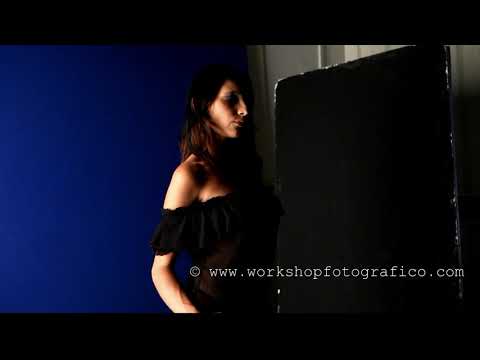
Glamour and Depth of Field
If you have a good fast prime lens, using it at almost maximum aperture can give your photos a very interesting appeal, especially in portrait, glamour and artistic…
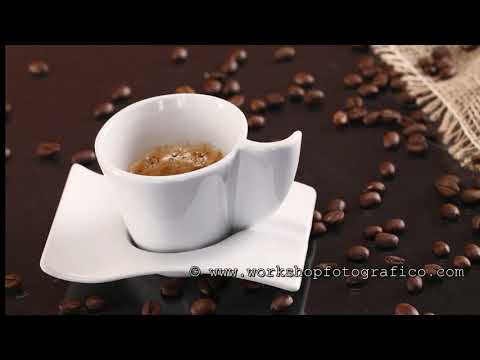
Still Life: A Coffee Cup
For many photographers, stock photography is their primary source of income. It basically involves photographing objects or people that companies all over the world can use to…
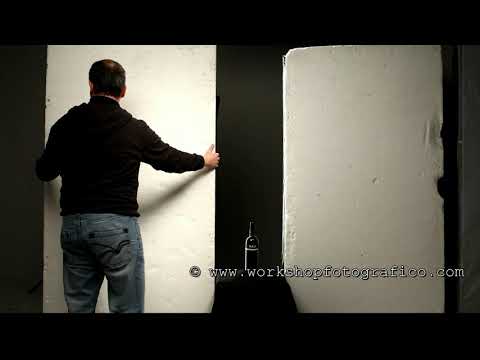
Still Life: Wine Bottle
Photographing glass objects is a challenge that is difficult and fun at the same time. Glass reflects images, so it should be lit from behind or from the side, for two reasons: - to prevent…
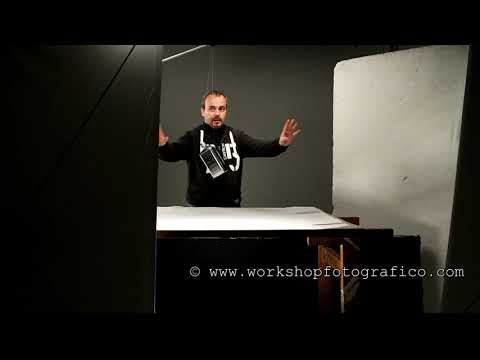
Still Life: A Metal Box
A metal box is an absolutely fascinating object to photograph. Its reflectivity means you can "have some fun" creating dark and light areas, simply by moving…
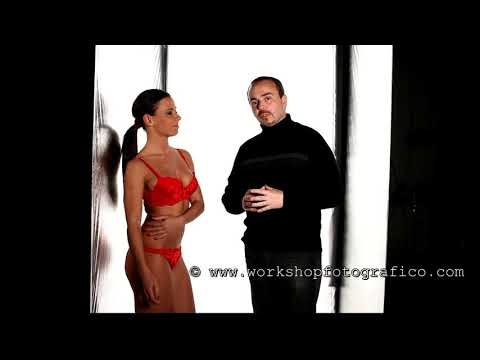
Olga Backlit
Lighting the model from behind is always very fascinating. You can play with the light intensity (by working the apertures) to get very different effects.
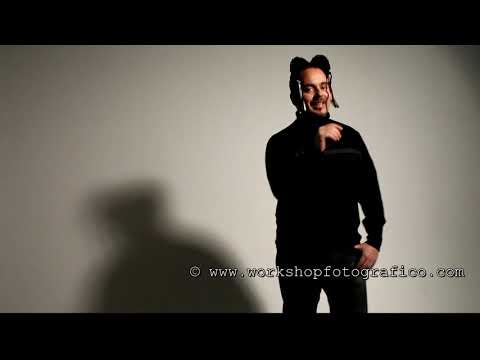
Vicky
We use the High Performance Reflector... an accessory that produces "hard but not too hard" shadows, to make these shots eye-catching.
Vicky (again)
Another video course with Vicky and the Bowens High Performance Reflector. This time we use it in 3 different ways, always as the only light source on the model, without using panels or anything…
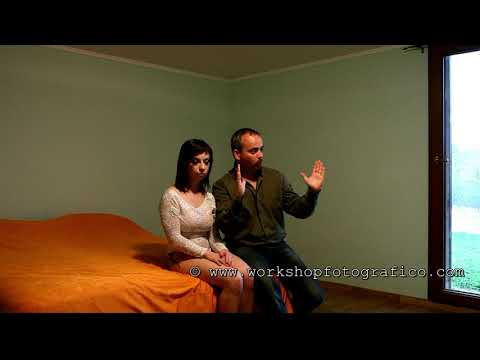
Lighting a Room Like Daylight
If we want to light an interior space like daylight, at a not exactly ideal time of day, a really good idea is to use a very intense light source positioned outside the…
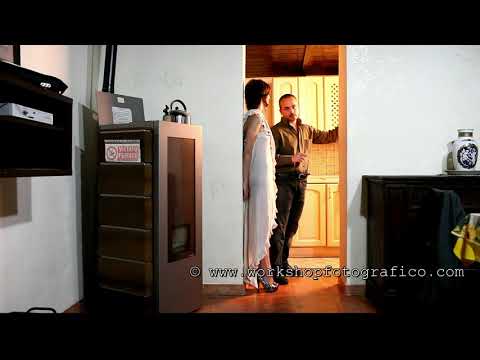
Glamour in the Kitchen
Indoor glamour with a single light source. Once you have found a suitable spot in the house, all you need is a medium-sized softbox (continuous light or flash, it makes no difference) to place…
Outdoor Glamour
As pointed out many times, when shooting with flashes outdoors you usually get excellent results by slightly underexposing the ambient light (from 1/3 of a stop to 1 stop) and then…
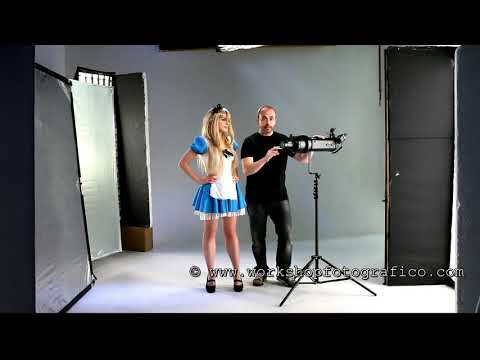
Alice in Wonderland
In this video course we use the Bowens Universal Spot Attachment... a rather expensive little toy that, however, lets us give our images that extra something in terms…
Brontola
When we are outdoors, using speedlights (shoe-mount flashes) is always very convenient. They are reasonably powerful, lightweight and run on regular AA batteries.
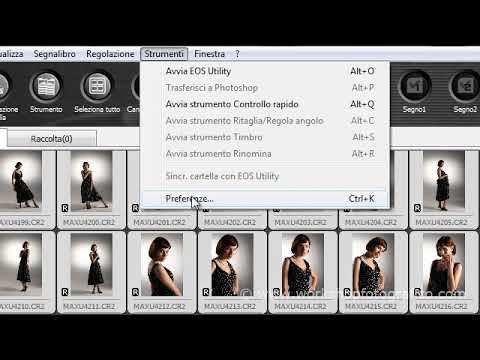
RAW Processing: Canon DPP - Part 1
To process the RAW files of your photos, I always recommend using the software distributed by the manufacturer of your camera.
RAW Processing: Nikon Capture NX2
RAW Processing: Adobe Lightroom
Photoshop: Layers
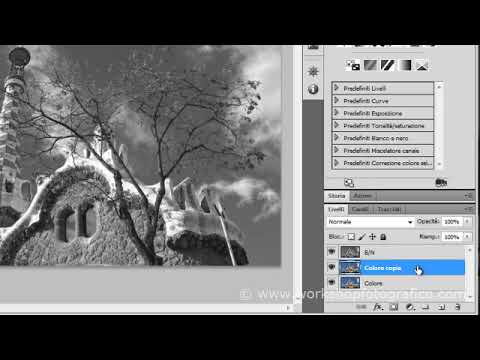
Pay close attention to this VideoCourse, because in it I'm going to explain a FUNDAMENTAL concept for using Photoshop: Layers. What are layers in Photoshop?
Photoshop: Plug-ins, Part 1
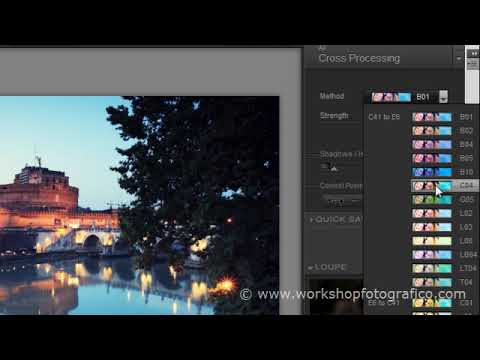
One of the "great things" about Photoshop are the plug-ins... simple tools that let us improve our photographs with just a few clicks.
White Balance from RAW
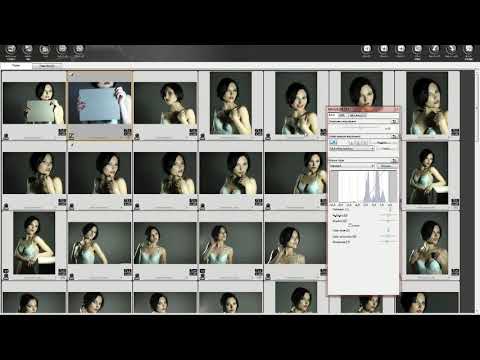
If you shot your session photos in RAW (if you didn't, I'll have to rap your knuckles!) and you were careful enough to take at least one photo with the 18% neutral gray card, the…
RAW Processing: Adobe Camera Raw
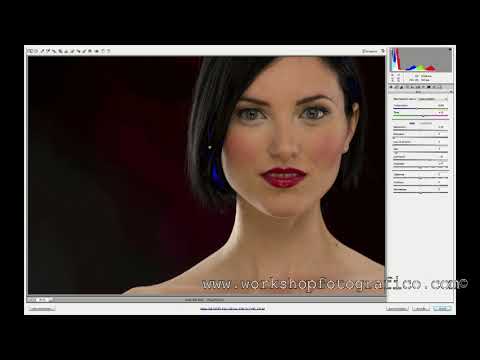
One way to "develop" a RAW file is to use the Adobe Camera Raw software, which comes with Photoshop, being an integral part of it.
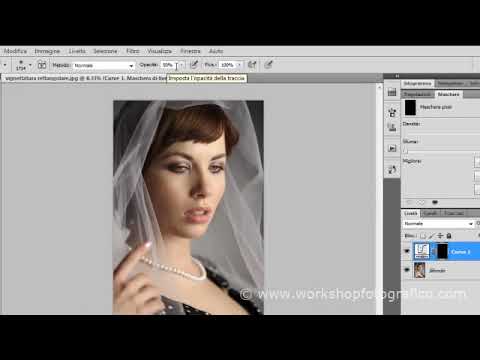
Photoshop: Adding a Vignette
What do we mean by vignetting? A lens's vignetting is the falloff of light at the edges of the image, especially noticeable when shooting at wide apertures.
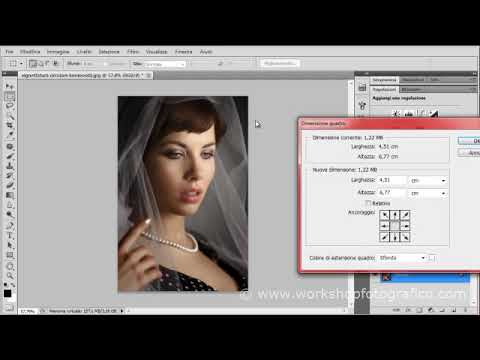
Photoshop: Border and Signature for the Web
We've finished our post-production and now we want to resize the photograph to post it on our website, or on facebook, or on some forum.
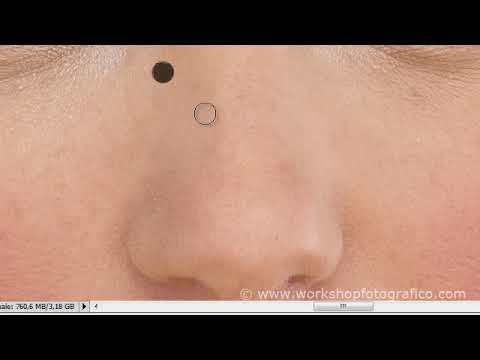
Photoshop: Face Cleanup - Part 1
For cleaning up the face in a Beauty/Glamour photo, one of the most useful and downright simplest tools to use is the "Spot Healing Brush".
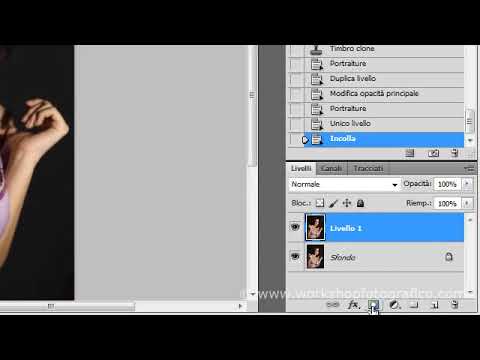
Photoshop: Recovering from Excessive Post-Production
It happens to everyone... you've been fiddling with and editing your photo for ages, and now you realize that.....YOU'VE OVERDONE IT!!!
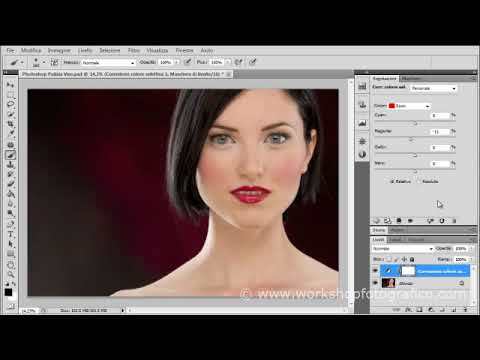
Photoshop: Selective Color Correction
If we want to change the tone of an object, or of our image as a whole, Photoshop gives us the "Selective Color" tool.
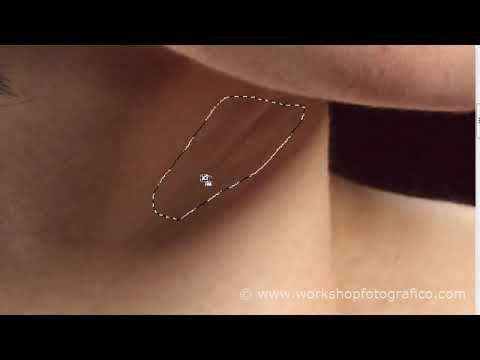
Photoshop: Face Cleanup - Part 2
For an accurate and precise face cleanup, I recommend using the Patch Tool. Using it is fairly intuitive.
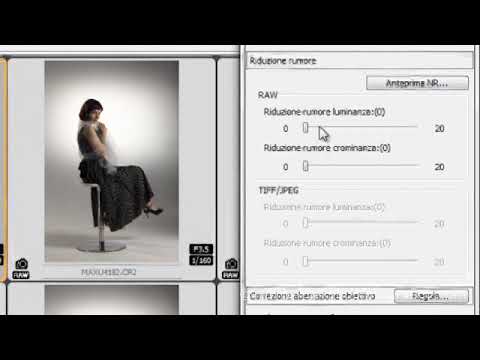
RAW Processing: Canon DPP - Part 2
First of all, if you haven't done so yet, watch the first part of this video course. Ok. Have you already done it ?
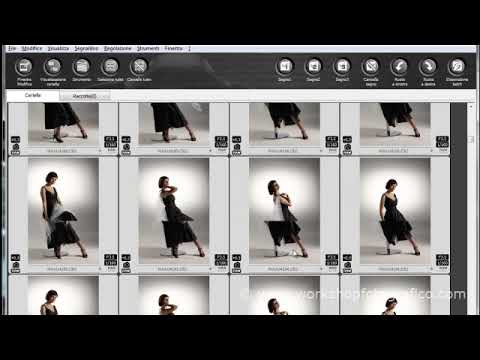
RAW Processing: Canon DPP - Part 3
I like this program because it lets me make changes very quickly to a uniform set of photos. For example, I noticed that this set of photos is a little…
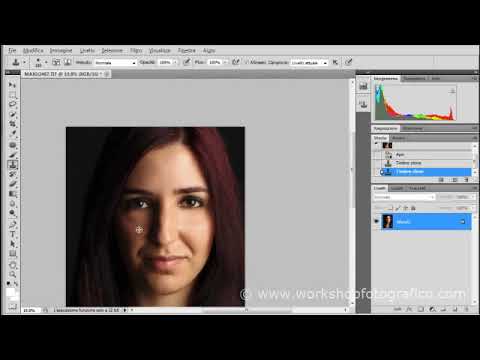
Photoshop: Face Cleanup - Part 3
In this video course we cover the "Clone Stamp Tool". This tool is one of the most widely used for photo retouching. The way it works is quite intuitive.
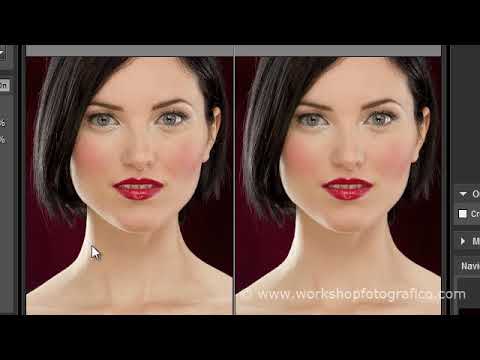
Photoshop: Face Cleanup - Plug-in
After cleaning up the face with the classic tools, covered in the previous video courses, namely: - Spot Healing Brush - Patch Tool - Clone Stamp we can move on to the…
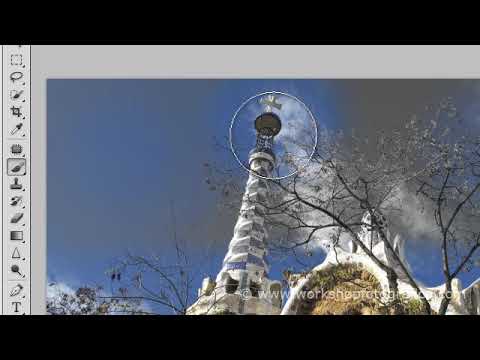
Photoshop: Layer Masks
Pay close attention to this video course, because in it I will explain a FUNDAMENTAL concept for using Photoshop: the layer mask.
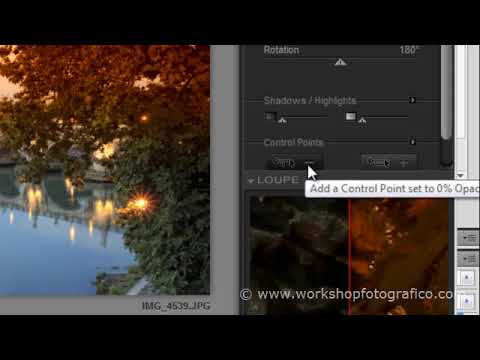
Photoshop: Plug-ins - Part 2
Let's make a nice postcard shot of Castel S.Angelo with a few plug-ins from the NIK Color Efex Pro 3.0 Complete suite.
Photoshop: Applying a Texture
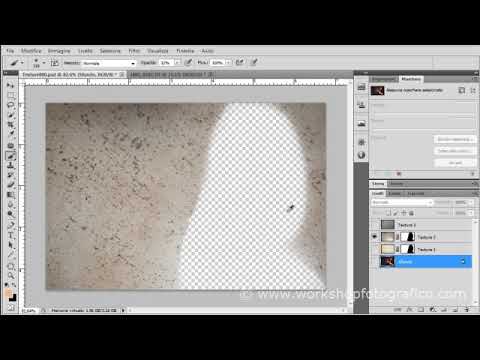
To blend two or more images together, the simplest method is to open them all in Photoshop, then click on one image and select all (Ctrl+A), copy it (Ctrl+C), click back on the main image…
Photoshop: Plug-ins, Part 3
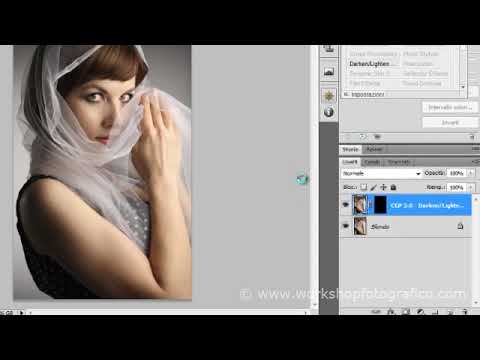
Darken/Lighten Center does exactly what its name says. With this plug-in we can do it very easily by marking our center with "Place Center" and then…
Photoshop: Plug-ins, Part 4
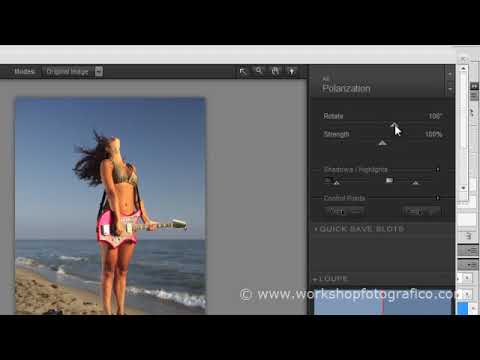
In this video tutorial I show how to use the POLARIZATION filter from the NIK Color Efex Pro 3.0 Complete suite. This filter emulates the behavior of a polarizing filter, and I recommend using…
Photoshop: B&W Plug-in, Part 1
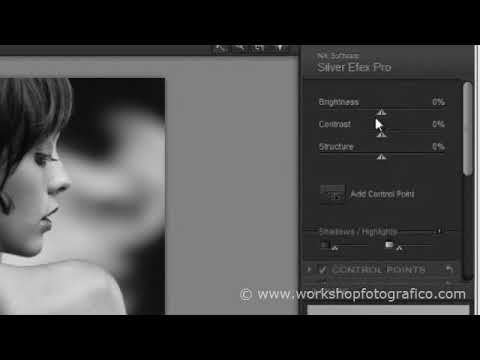
To get a beautiful B&W (Black and White) photo, I recommend starting from a shot that was already taken with fairly contrasty light.
Photoshop: B&W Plug-in, Part 2
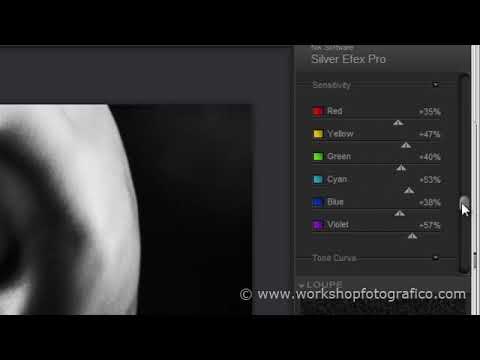
Here's the second part of the video tutorial dedicated to using Silver Efex Pro. Basically, here we simply use the film-simulation presets, to get grain and…
Color Management - Part 1
- THE FIRST PART OF THE VIDEO TUTORIAL HAS NO VIDEO! - Color Management in digital photography is a very important subject, but it's just as complex and vast.
Color Management - Part 2
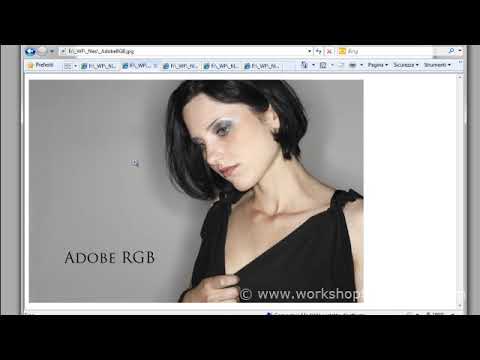
Watch this video tutorial carefully....its final "takeaway" is: USE sRGB !!!! Otherwise, if you want to complicate your life a bit, use Adobe RGB or ProPhoto, but only if you're fully aware of…
Photoshop: B&W Plug-in, Part 3
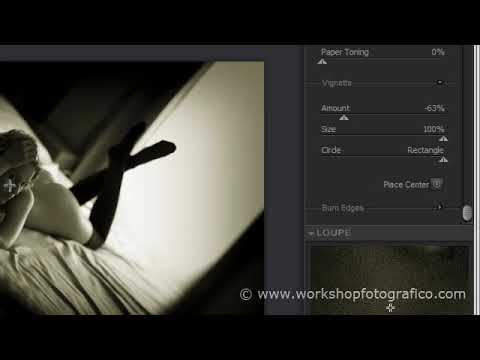
To add a vignette and/or change the toning of your photo, use the STYLIZING section. With "Toning" you apply the toning.
Color Management - Part 3
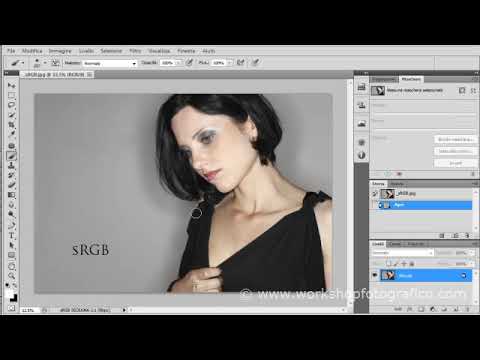
In the first 2 installments we talked about theory... now let's see IN PRACTICE what needs to be done to get proper color management. ..enjoy the video! >>> TO WATCH THE VIDEO CLICK HERE <<<
Color Management - Part 4
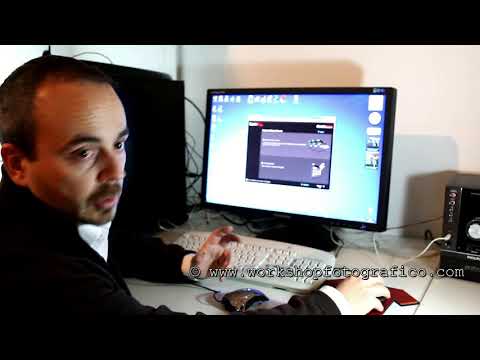
The video explains the procedure for calibrating a monitor with the DATACOLOR Spyder Elite 3 calibrator. What happens at the end of the process?
Photoshop: Skin Cleanup - Powder Effect
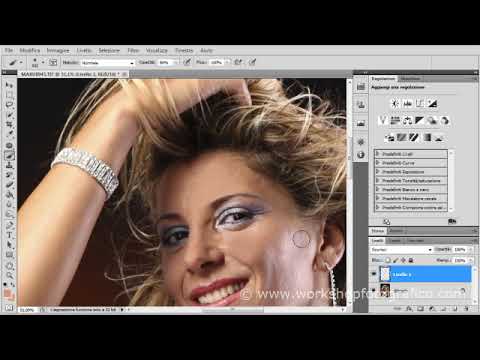
In some portraits, the light may reflect off the model's face or body in an unflattering way. In these cases it can be useful to apply a "powder effect".
Photoshop: Liquify (Nose)
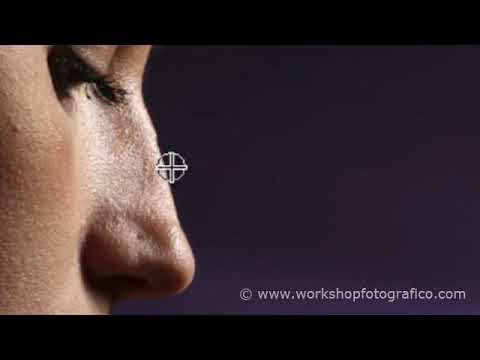
Photoshop's LIQUIFY filter is a widely used tool for correcting/enhancing the physical features of portrait subjects.
Photoshop: High Key
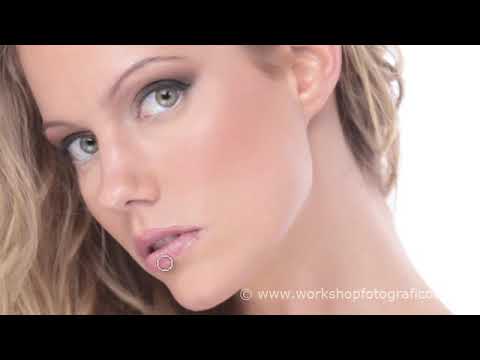
What is a High Key? A High Key is a photograph shot in a "high key", meaning the lighter tones take center stage.
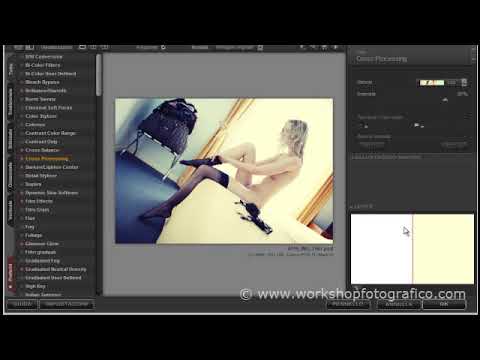
Photoshop: A Glamour Mood
Have you noticed that in magazine editorials and ads the photos are never shown "raw and untouched" — there's always some toning / lighting effect?

Photoshop: Lengthening Legs
Long legs are synonymous with beauty. Lengthening them in Photoshop is very simple. Using the rectangle tool, make a selection from just below the buttocks down to the bottom edge of the frame.
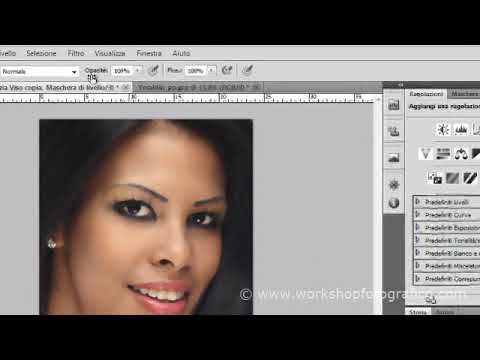
Photoshop: Face Cleanup - Part 4
After cleaning up the face with the techniques covered in the previous 3 video tutorials, we can finish off our image by blurring the skin, making it smoother and more…
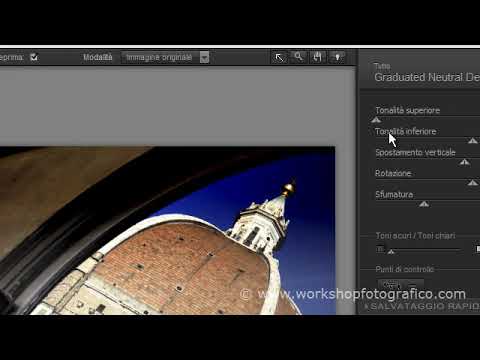
Photoshop: Plug-ins - Part 5
An architecture photo where we use the Nik Software filters, Color Efex Pro. First of all we darken the building with "Gratuated Neutral Density", which emulates a graduated ND filter.
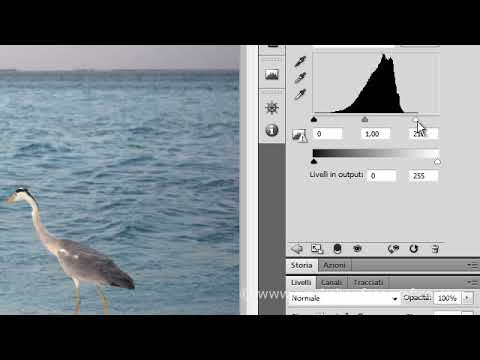
Photoshop: Levels Adjustment
The Levels adjustment is an excellent tool for extending the tonal range of your photo, especially when dealing with a photo dominated by flat midtones.
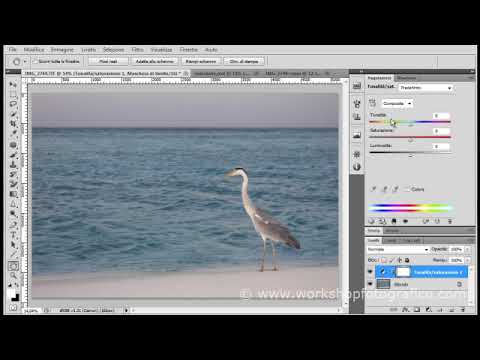
Photoshop: Cutting Out with the LAB Method
To cut out tricky subjects accurately in "automatic" mode — provided they stand out against fairly uniform backgrounds — there is a method that is a bit more complicated than usual, but very…
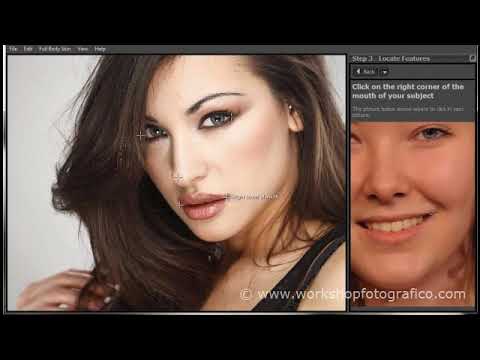
Portrait Professional
Portrait Professional 10 - standard edition - It's a truly powerful piece of software for extremely fast portrait post-production.
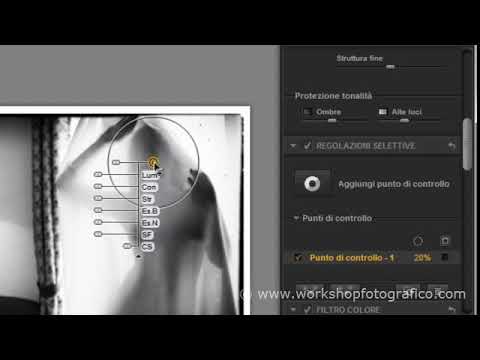
Photoshop: B&W Plug-ins - Part 4
Nik Software has updated Silver Efex Pro to version 2, its plug-in dedicated to black-and-white lovers. The new version is now also available in Italian and is 64-bit.
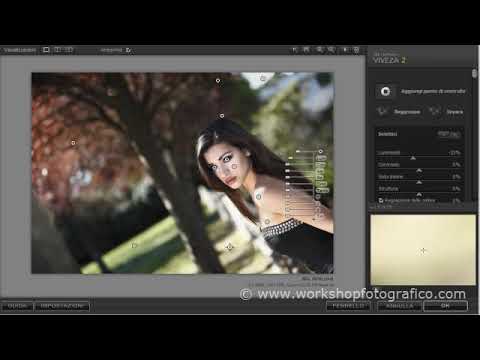
Viveza 2
An extremely useful plug-in for improving your photos is without a doubt VIVEZA 2 by Nik Software. With this software, thanks to U-Point technology, you can improve the look of your…
Photoshop: Content Aware Fill
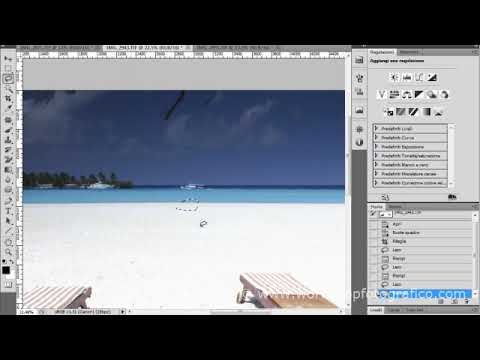
A very useful feature introduced in CS4 and enhanced in CS5 is Content Aware Fill, i.e. the ability to fill a selection based on its content.
Post-Production of Vacation Photos
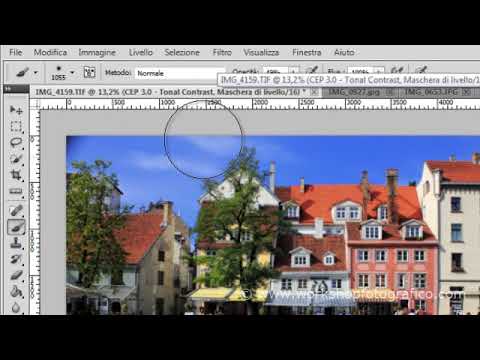
In this video tutorial I do a bit of post-production on the photos taken on vacation with the Canon EOS 550D and the iPhone 4 (check out the related video tutorials).
Photoshop: Plug-ins Part 6
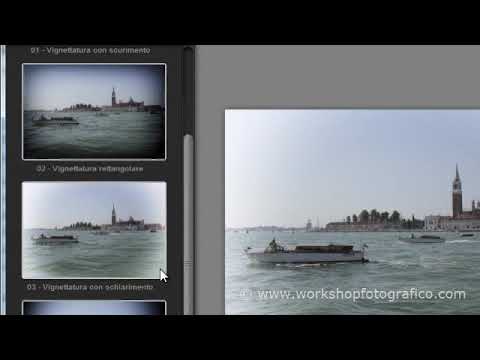
Nik Color Efex Pro has reached version 4, with an improved interface and lots of new features. There are many new features: - there are new filters, including the extremely useful Detail Extractor - there are presets…
Photoshop: Restoring Skin Texture
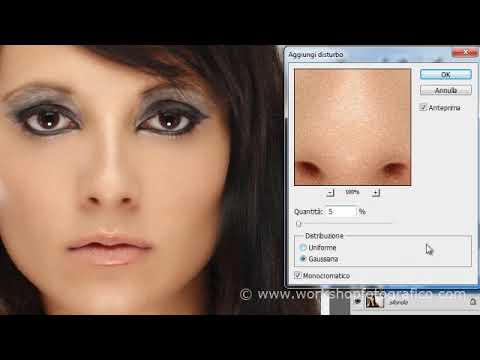
In another video tutorial I explained how to recover from excessive post-production while you are still working on the photo and therefore still have access to the original…
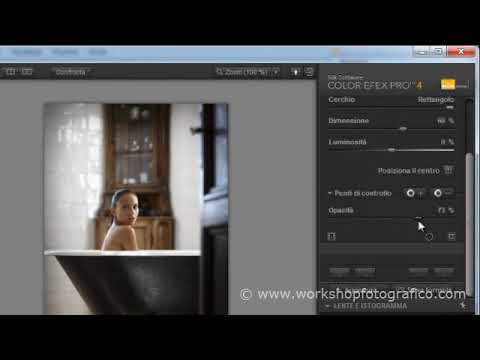
Photoshop: Plug-ins in Action
In this video tutorial we look at how to make the most of some Photoshop plug-ins that are so interesting that you can greatly improve a photograph practically without using…
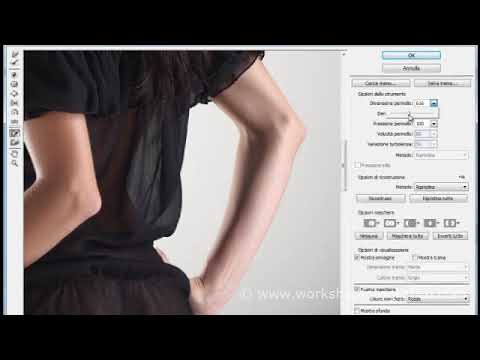
Photoshop: Liquify (Body)
The Liquify filter. Every woman's best friend...but also a friend to men with a bit of a belly... :-) The Liquify filter is widely used to change, in a "natural" way, a…
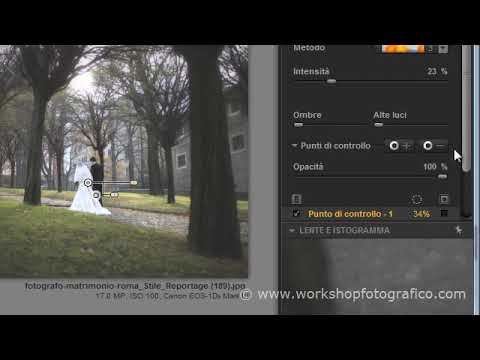
Photoshop: Wedding Retouch
WARNING! Before watching this video tutorial I would recommend watching all the video tutorials named: Photoshop - Plug-ins Part X.
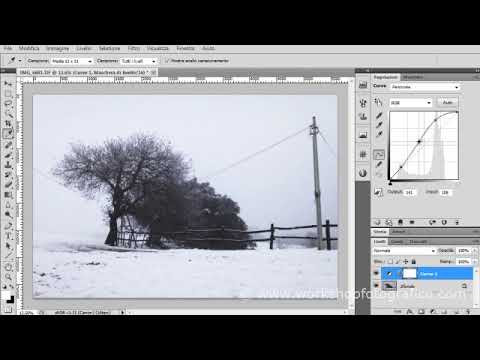
Photoshop: Curves
One of the simplest yet at the same time most powerful adjustments for fixing brightness and contrast in Photoshop is the CURVES adjustment. Using it is fairly intuitive.
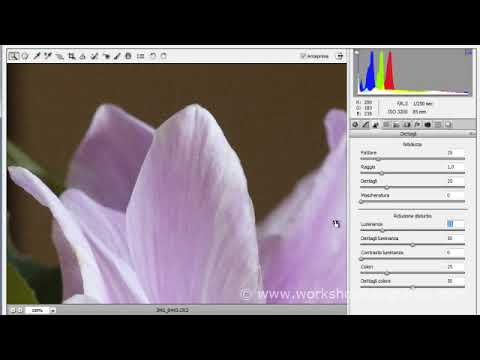
Camera Raw: Noise Reduction
If we have taken a photo at high ISO, we will definitely have an image with some digital noise. To remove/reduce it we can use Camera Raw (included in…
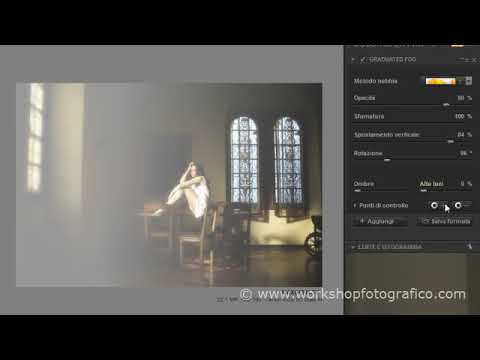
Photoshop: Simulating Window Light
We can easily simulate the light filtering in through a window with the "Graduated Fog" filter in Nik Color Efex.
AI Retouching
Artificial intelligence makes many aspects of our work easier, including the post-production of our photos.
The 5-in-1 Reflector Panel (Cloudy)
5-in-1 reflector panels are very handy to use outdoors. They're an inexpensive way to "manipulate" the existing light to suit your needs in a very simple and intuitive…
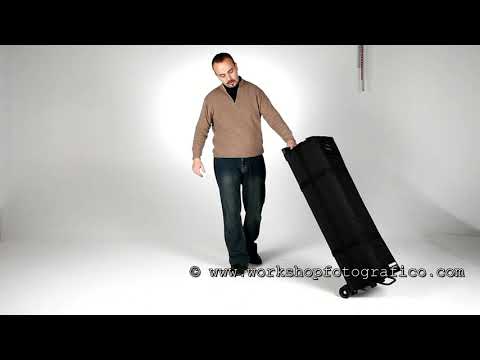
Bowens 500C Travel Pak Kit
To shoot both on location and in the studio, you can equip yourself with the Bowens 500C Travel Pak Kit. It consists of 2 monolights, 500W/s each, which can be used either with the cable for a…
1 Star - For Beginner Photographers
Videos rated 1 star are designed to teach "budding" photographers. That is, those who have recently bought a DSLR, or plan to buy one soon.
2 Stars - For Advanced Amateur Photographers
Videos rated 2 stars are designed to teach amateur photographers who want to "grow". That is, those who bought a DSLR some time ago and know how to use it with a certain awareness.
3 Stars - For Expert Photographers
Videos rated 3 stars are designed to provide advanced information to expert, semi-professional and professional photographers, so as to let them in on "All my secrets".
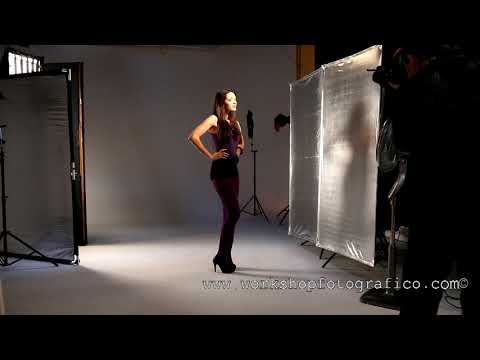
_Live Studio Workshops
A workshop is a unique opportunity to learn while having fun. The genre of photography I usually offer is oriented towards portraiture, glamour and artistic nude.
_The Directions of Light.
TEXT-ONLY VIDEO COURSE - NO VIDEO - Download the attached file to understand what "light from behind", "on-axis light", or 60° Right, etc. mean...
_THE VIDEO COURSE LEARNING PATH
--- THE VIDEO COURSE LEARNING PATH --- The video courses were produced over the years and, even though they are "catalogued" with the famous little stars, I realized it could be…
How a TTL Hot Shoe Flash Works
TEXT ONLY --- NO VIDEO Today's flashes work in TTL mode (through the lens) . This means that to determine the intensity of the burst to be…
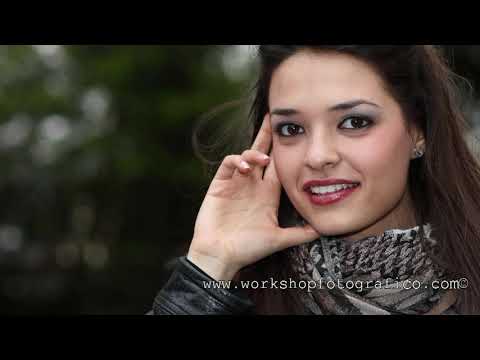
Outdoor Portraits with TTL Flash
Successful use of flash light outdoors means managing to find the balance between the natural light and the light emitted by our flash.
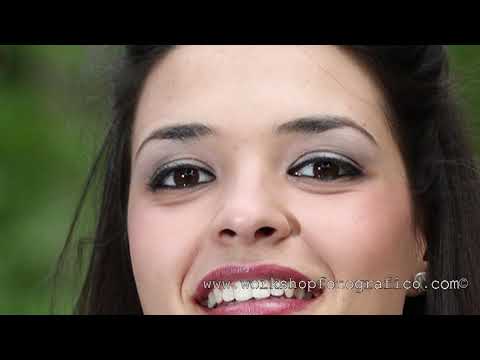
Outdoor Portraits with Wireless TTL Flash
This video course is the follow-up to "Outdoor Portraits with TTL Flash". In the previous video course we saw how to use a TTL flash mounted on the hot shoe.
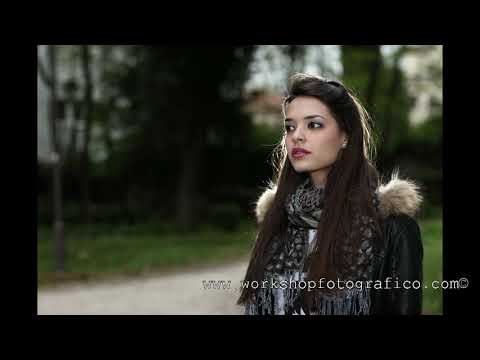
Outdoor Portraits with Pocket Wizard MiniTT1 / FlexTT5
The main problem with using Canon or Nikon wireless systems is that the requirements for using them properly are quite strict and place a considerable limit on creativity.
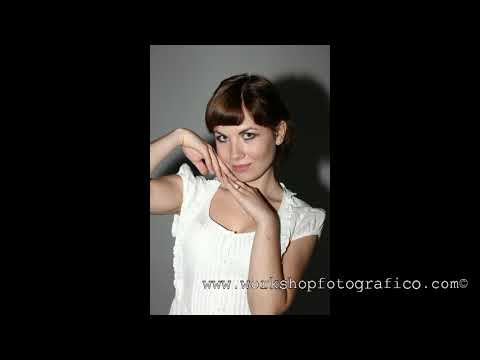
Indoor Portraits with a TTL Flash
When you're indoors and want to use your TTL flash mounted on the hot shoe, it's best to use it with the "Bounce Flash" technique, that is, you should bounce the flash burst off…
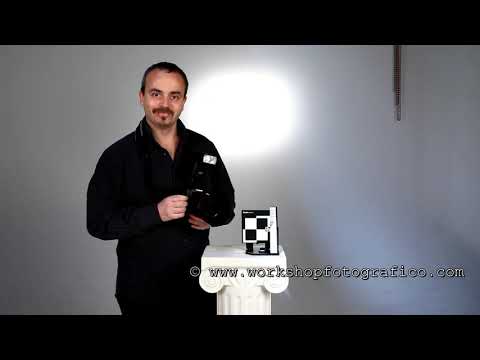
Most Common Mistakes: TTL Flash
When we use a TTL flash, we have to keep in mind that we have a tool that allows us to compensate, by emitting a burst of light, for the amount of light missing to…
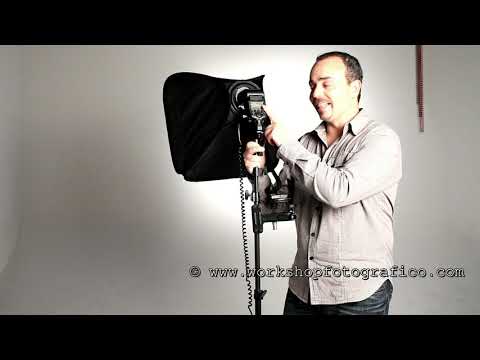
Flash for Weddings and Outdoor Shoots
When I shoot outdoors or at weddings I use 3 "portable" flash setups put together like this: - Canon 580EX II - Canon Battery Pack SPECIFIC to the Canon 580 EX - PocketWizard Flex TT5 - Manfrotto…
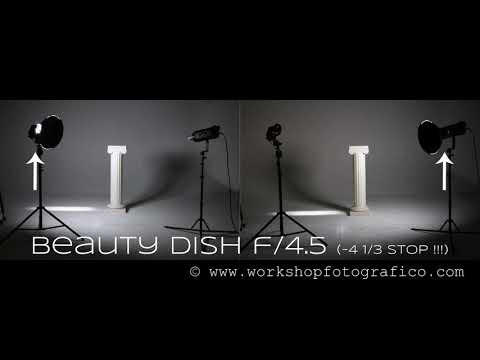
Type-S Adapter for Speedlights
In this video tutorial we put to the test this adapter for accessories with the "Type-S" bayonet mount used by Bowens accessories.
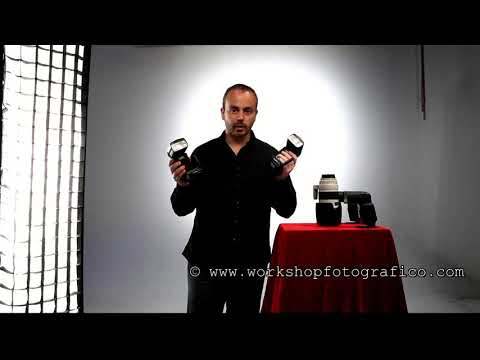
Canon 600EX-RT vs PW FlexTT5+580 EX II
May 2012 The first Canon shoe-mount flashes to use radio waves to carry the information needed to fire a remote flash in wireless mode are now available in…
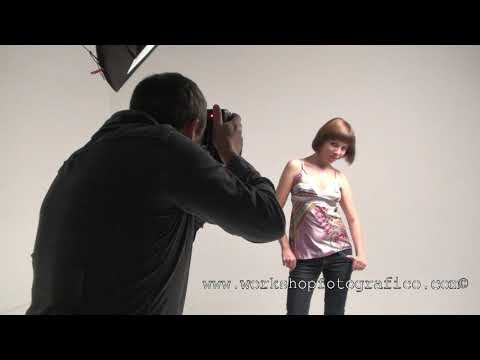
Continuous Light vs. Flash Light
Which is the fairest light in all the land ? Continuous light or flash light ? In truth, as pointed out many times, LIGHT IS LIGHT, what changes are the diffusers ....
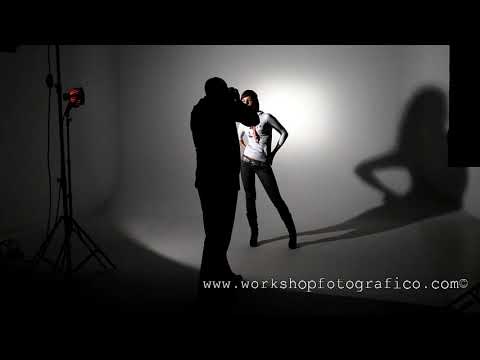
Direct Light vs. Diffused Light
A fundamental aspect of photography is the control of shadows. We can and must choose their direction, their presence and their hardness.
Camera Metering with Studio Flash
Which of the camera's metering systems is best to use when I shoot indoors with studio flashes ? NONE ! You don't need it.
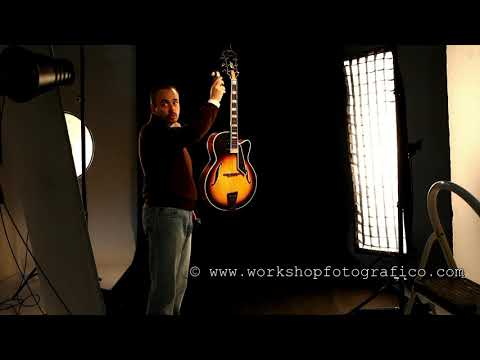
How to Use a Handheld Light Meter
- A handheld light meter ... what is it for? It measures the light and gives us the right ISO, shutter speed and aperture values to expose our subject correctly.
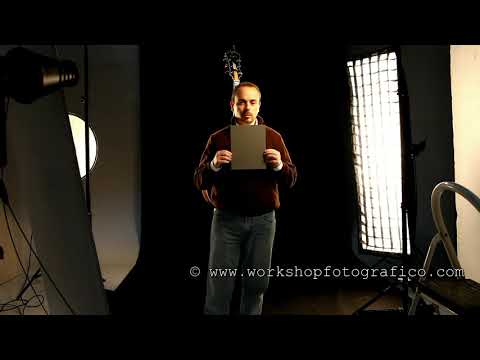
How to Use an 18% Middle Gray Card
The 18% middle gray card is useful for 2 purposes: 1 - Exposure 2 - White balance For exposure, using it is simple.
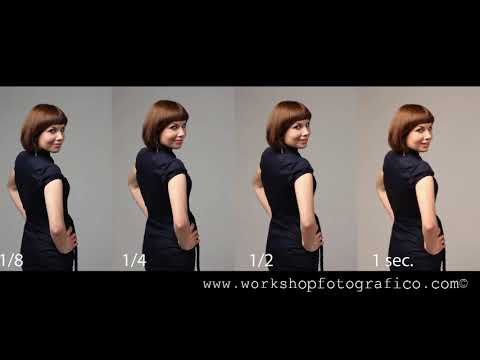
Shutter Speeds with Studio Flash
This is a recurring question: "What shutter speed should I set when using studio flashes?". The key concept is this: the flash burst must be emitted while the shutter curtains are fully…
Coloring a Background with a Gel
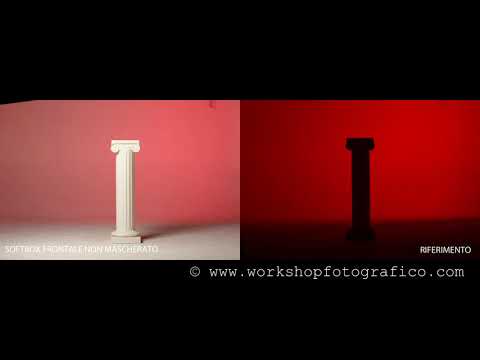
To color a background evenly you need a Backlite with a colored gel. To get really good results, though, no "stray" light must spill onto the background…
Speedlight vs. Studio Flash
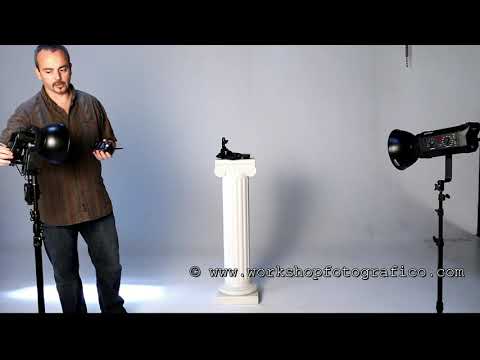
Many of you have asked me about the difference between a speedlight (used in manual mode with a "simple" non-TTL trigger, or with a sync cable) and a studio flash, so here is a comparative…
How to Read a Histogram
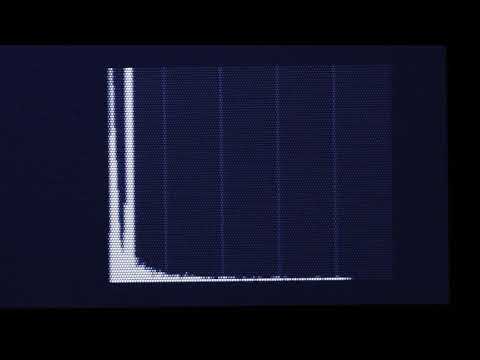
Reading and correctly interpreting a histogram is essential to understanding whether our photo is properly exposed or not.
Our Photos on the Web
What happens to our photos once they are published on the web? Unfortunately it can happen that, despite our signature and the little copyright symbol, someone appropriates them to use…